 Since this is the first article, I figured I would start at the beginning….. Proper aquarium setup will make all the difference in the success of your aquarium.
So, you’ve just gone to the local aquarium store and come home with a new aquarium. Hopefully the aquarium store guy told you not to buy fish right away and that you need to let your tank “cycle.” Now you’re turning to the internet wondering what you got yourself into and what this “cycling” is all about. I’m here to help. Setting up a new aquarium is an awesome, but slow, experience. Trust me, it will all be worth it in the end.
The List
The first step is to make sure you got everything you need. There are really only 8 things you need to get the ball rolling. Make sure you have them all.
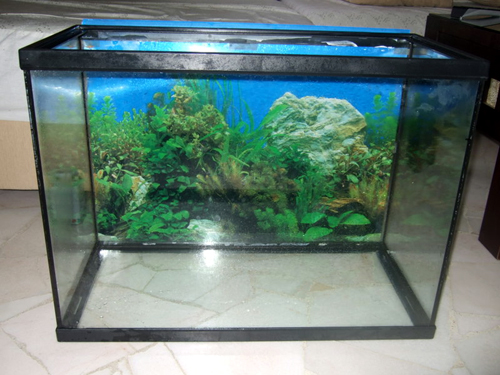
1) Aquarium with glass tops or plastic hood and light
2) Stand – or something to put the tank on so that it is at least a few feet off the ground.
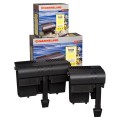
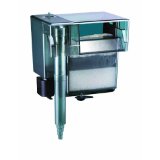
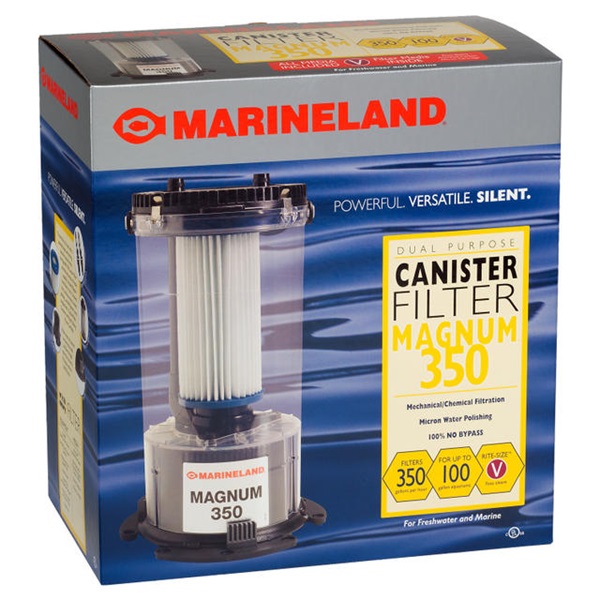
3) Filter of some kind – Get something that is at least rated for your aquarium size.
4) Heater – Yes, you actually need to get a heater. I would suggest the more expensive one with the built in thermostat.
5) Thermometer – This is to make sure the thermostat is actually working on your heater.
6) Substrate – Sand or gravel.
7) Dechlorinator – Removes chlorine from the water.
8) Water

The Perfect Spot
Got it all? Okay, great. Now, time to put it all together. Try to put the aquarium where it is not in direct sunlight as this will increase algae growth. It is also best to not setup the aquarium where there is a lot of foot traffic, such as a hallway. If a hallway is all you have, fine, but it would be best to set it up in a quiet corner of your living room.
Set your stand on the ground and make sure it is far enough from the wall so that you can place a filter on the back. Even if you didn’t get an external filter, you may want to later on. Set it out at least 5 inches from the wall if you can. If you are going to completely ignore this, at least set it out 2 inches from the wall so you can run tubing behind it and it is not sitting on the tack strip (something to do with carpeting that will offset your aquarium). After you have positioned the stand, place the aquarium on top and break out the level. It should be fine, but it’s always best to check before you fill it up. Now, sit back and admire it for a moment.
Water Works
Once you’re done resting, It’s time to go rinse your substrate. Whether you bought gravel or sand, you will want to put it in a bucket and rinse it. Fill and drain the bucket several times so that the water runs clear, or at least clear-ish. This is to prevent the water from clouding. Add the rinsed substrate to the aquarium. After that, it’s time to fill it up. I would suggest bringing in the garden hose for anything over 20 gallons. As the tank is filling, add your dechlorinator. Follow the instructions on the bottle.
Fire it up!
Now it’s time to turn on the filter and heater. Your heater instructions probably say to put the heater in the water and let it sit there for an hour before you plug it in. I don’t know why this is. Just do it. Set the temperature to 78-80 degrees. If you bought an external filter, you will have to prime it. Hang it on the back of the aquarium and fill it with water and plug it in. It probably has a priming lever that you push up and down to make the filter start working. Use the lever and then if it doesn’t work, get a big cup and just pour water into the back of the filter over and over until it starts pumping out water on it’s own. It will usually sound different when it is primed and working.
Stick the thermostat on and that’s it! You’re done. Now, the real fun begins…. Waiting.
The Waiting Game
What we are waiting for is for the tank to “cycle.” Basically cycling is waiting for good bacteria to grow and live in your aquarium. These good bacteria eat the toxins in your water that are produced from fish waste. No matter what kind of filter you have on the aquarium, you need these good bacteria to destroy the toxins or everything will die! So how do we get the bacteria to grow? Add fish! ……. Now before you go crazy, read the rest. You can only add a FEW FISH. The day after you setup the aquarium, go back to the fish store and buy some small (1-2″) fish. The rule of thumb is 1 small fish per 10 gallons of water during this cycling phase. So, if you get a 20 gallon aquarium, that means 2 fish. These should be fish that you will want to have in your aquarium later on because chances are they will live and do well. Don’t buy something like feeder goldfish, thinking they will die and you don’t want to spend the money.
You will need to let your FEW fish live in your aquarium alone for 4-6 weeks. During this time, I would suggest weekly 20% water changes to eliminate the toxins. If at anytime the fish look stressed or are acting strange, do a water change. Feed the fish daily and turn the light on and off every day. Take good care of these little guys… The future of your aquarium depends on them! Remember, these fish are making the life sustaining bacteria grow.
Show Time!
After your 6 weeks is up, it’s time to take some water to the fish store to be tested for ammonia and nitrate (the bad toxins) and get some new fish. The water should test fine, but if it doesn’t, go home and do a water change and wait another week or 2. Add new fish to the aquarium slowly. If you have a 20 gallon and started with 2 fish, only get 2 or 3 more and see how they do before adding more. Then wait a few weeks and add a few more. Eventually, you will have your fully stocked tank and all will be good!

Have any input? Post it here! Feel free to ask me any questions.